We would be using Black Powder with roughly equal forces, I used:
G de D Durette - Staff Rating 8; Low Agression
1st Brigade
M de C Pegot - Staff Rating 8; High Independence
1/8 Ligne, 2/8 Ligne, 1/29 Ligne, 2/29 Ligne, 6/9 Field Artillery, 6/9 Field Artillery
2nd Brigade
M de C Brue - Staff Rating 8
1/85 Ligne, 2/85 Ligne, 1/95 Ligne, 2/29 Ligne, 6/10 Field Artillery
3rd Brigade
M de C Schmidtt - Staff Rating 8; Low Agression
1/13 Legere, 2/13 Legere, 1/17 Ligne, 6/10 Field Artillery
Cavalry Brigade
M de C Dubois - Staff Rating 8; Low Agression, Low Independence
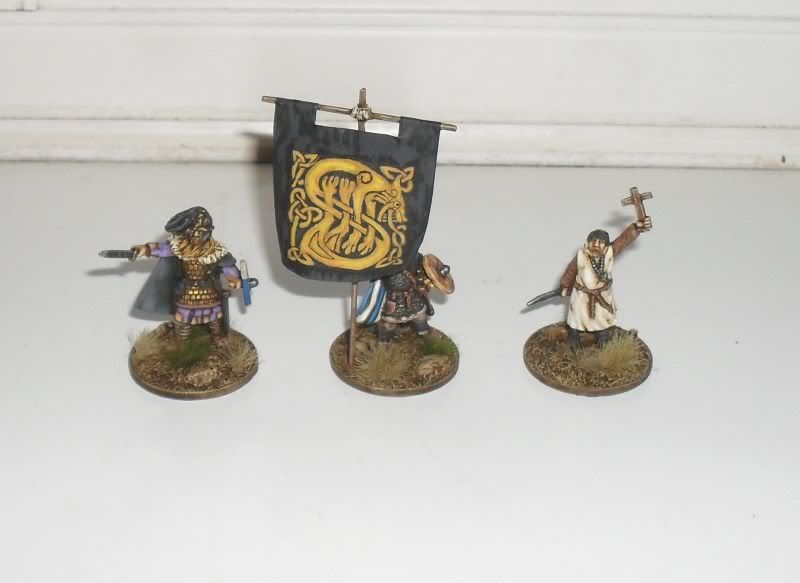
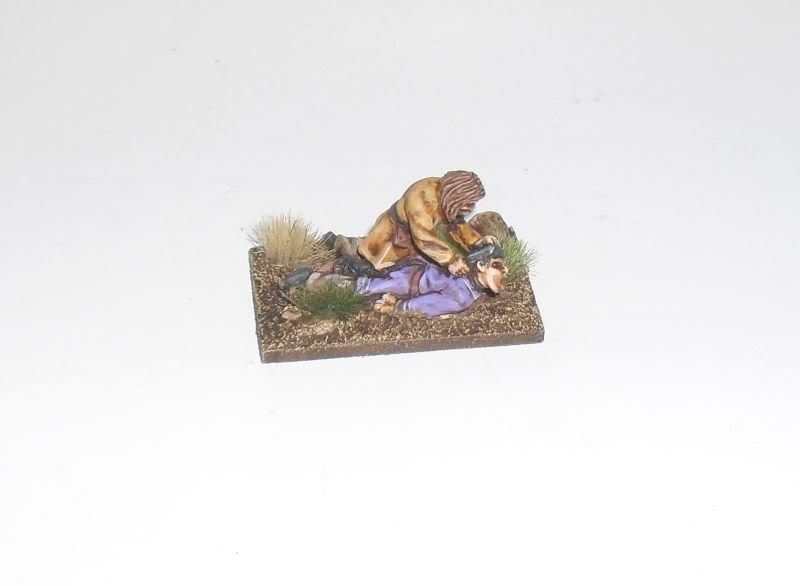
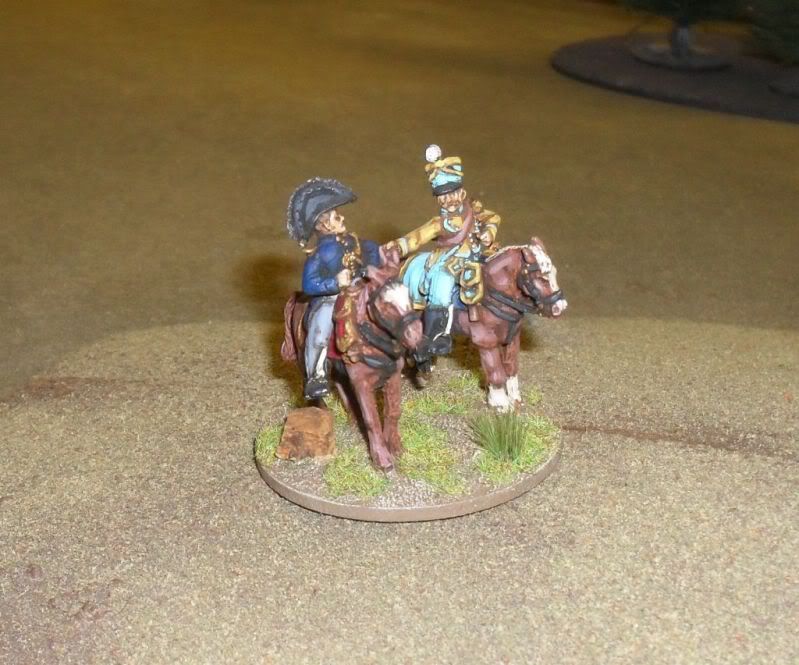 |
| Debois gets his orders |
As you can see when rolling up the characteristics for the generals, I got a lot of lows, especially badly hitting the cavalry.
Quinton fielded (from memory)
1st (Grenadier) Brigade - Staff Rating 8
Two battalions of Hungarian Grenadiers, Two battalions of German Grenadiers, one Battalion gun, one Hussars
2nd (German) Brigade - Staff Rating 7; Low Decisiveness
Four battalions of German Fusiliers, one Battalion gun, one Lancers
3rd (Light) Brigade - Staff Rating 8
Two battalions of Hungarian Grenadiers, one battalion of Jaegers, one battalion of Grenz, one Hussars
There was a large ridge line down the center of the table, whoever controlled this would be at an advantage.
We both drew maps for deployment, I deployed 1st & 2nd brigades on my right supported by the heavy cavalry, the small third brigade was deployed in my center with it's left flank anchored on some woods. Opposite my main attack, Quinton deployed just his Grenadiers, with both the Light and German Brigades facing off against my small third brigade.
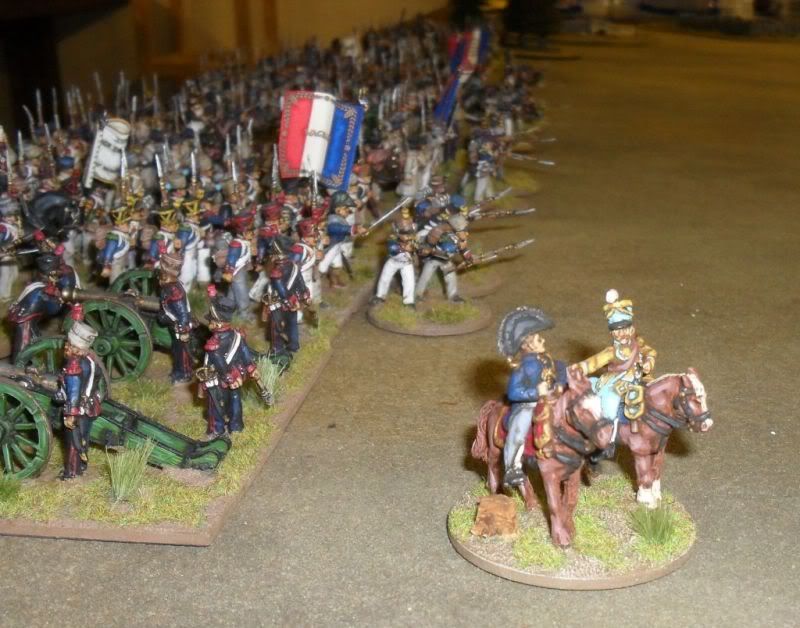 |
| The French Right |
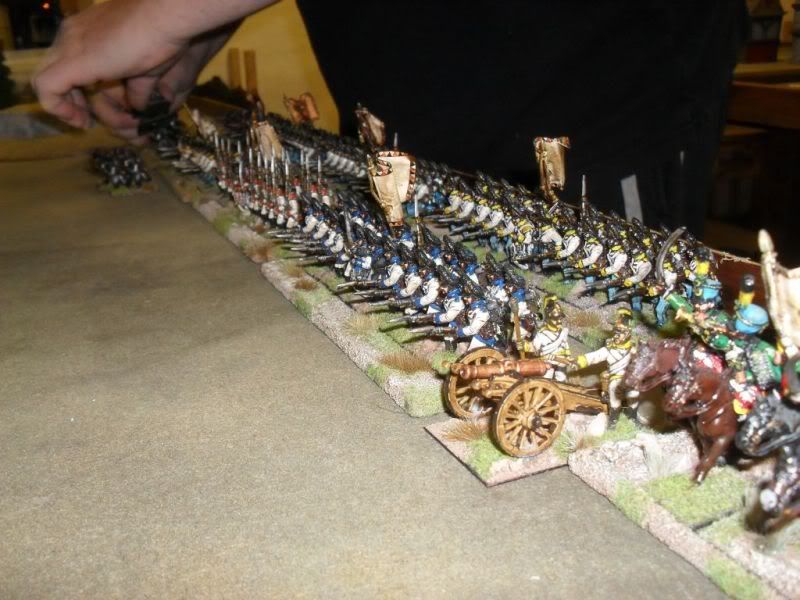 |
| The Austrian deploy |
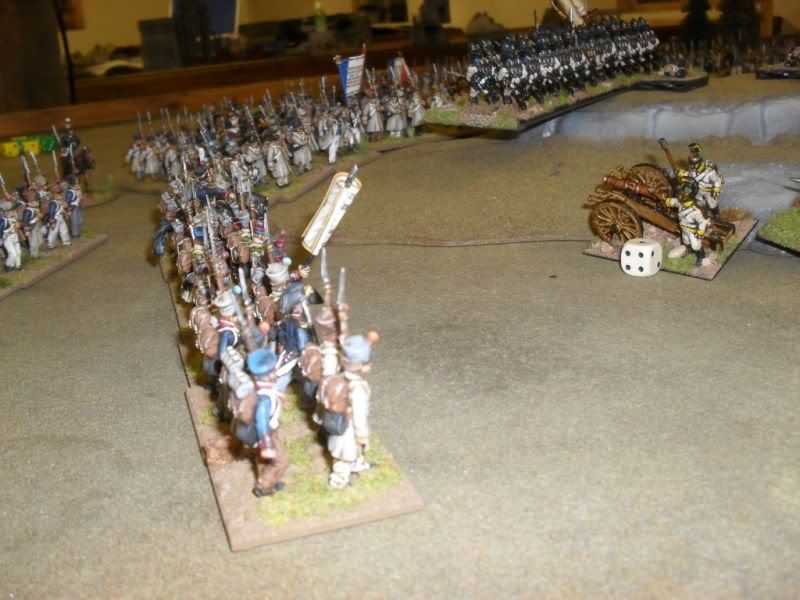
Quinton elected to go first and his Grenadiers were soon climbing the lower slop of the heights, supported by the Lights.
 |
| Grenadiers start to scale the heights |
However in a pattern much seen during the game, the German brigade rolled three moves, but due to indecisiveness re-rolled and fluffed their order.
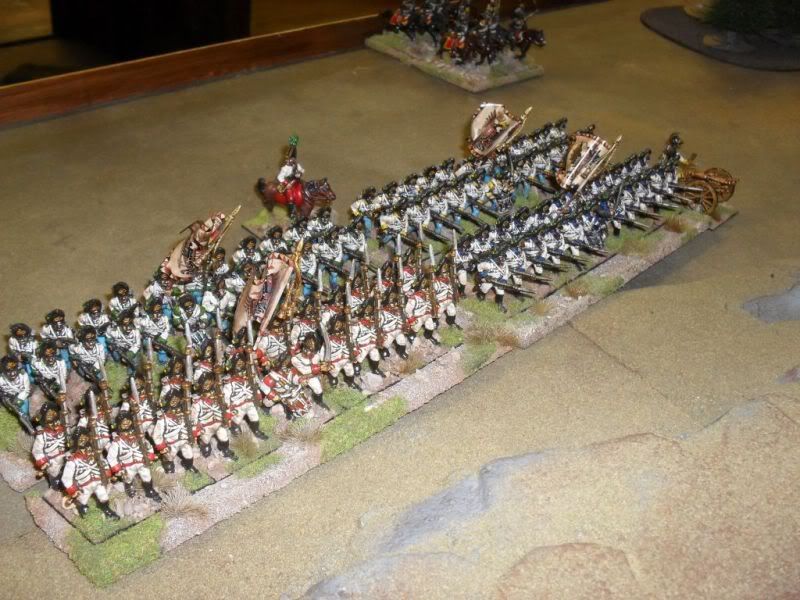
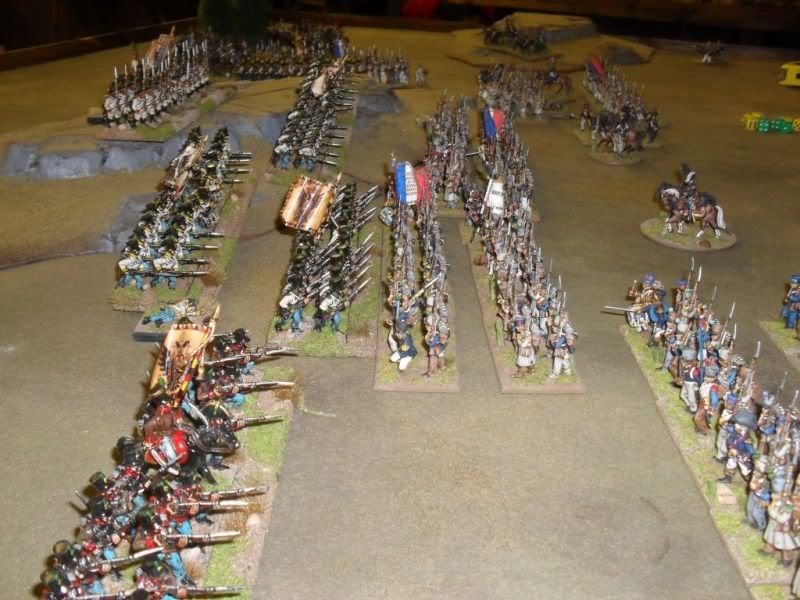
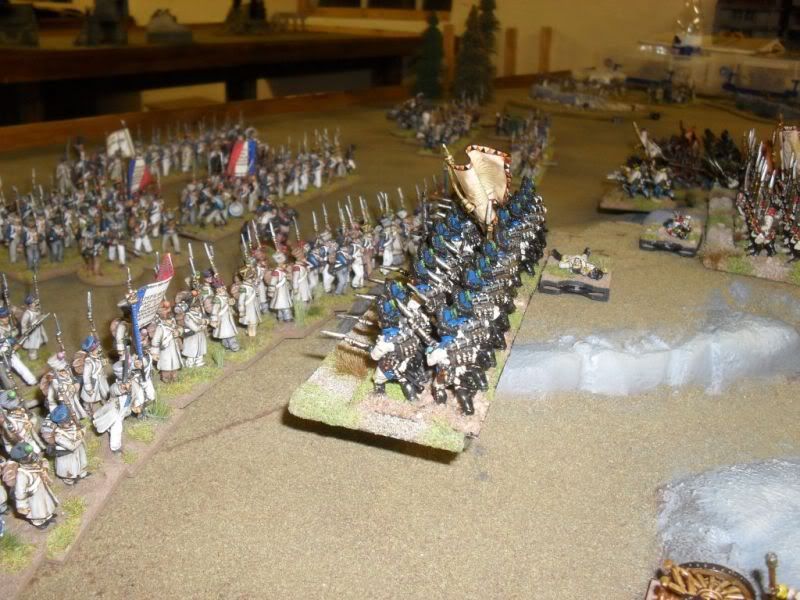
My first brigade soon made an advance of their own on the open right flank, the second brigade failed to make the same ground that the Austrian had with the third brigade still anchoring the left flank on the wood. My cavalry took the high ground on the extreme right.
 |
| The French push the right and refuse the left |
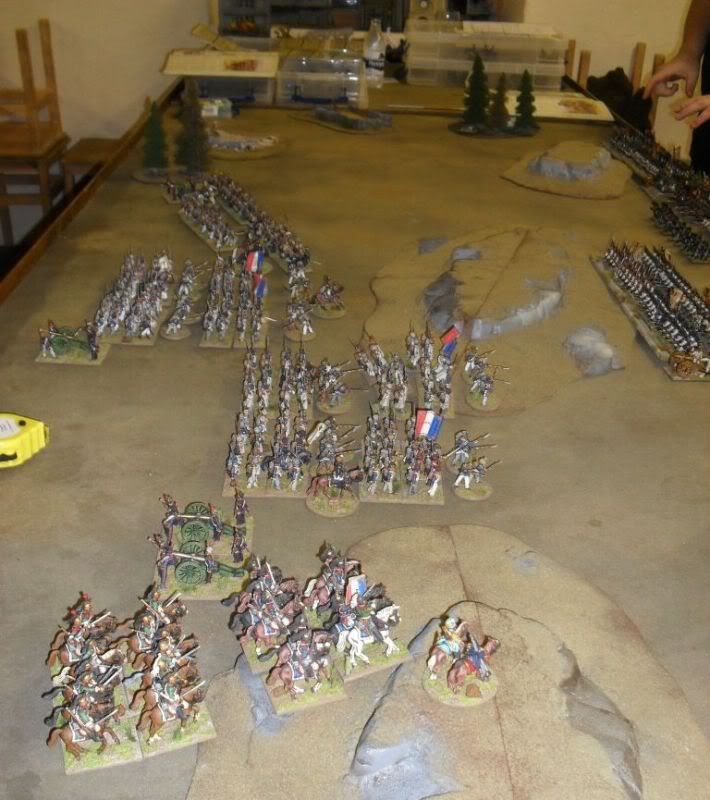
As the battle developed the German brigade had very little effect, three times rolling three moves and then failing the re-roll, by the end of the game the infantry from that brigade had only moved a couple of times. The Austrians rushed all their light horse to their left flank to try to prevent the envelopment that was taking place.
 |
| The French envelop the Austrian right. |
 |
| Austrian Light Horse rush to intervene |
The Austrian Light Brigade shattered the French 3rd Infantry Brigade early on, but with the dilatory performance of the German Infantry Brigade are unable to make good their advantage.
 |
| The Grenz finish off the 3rd Brigade |
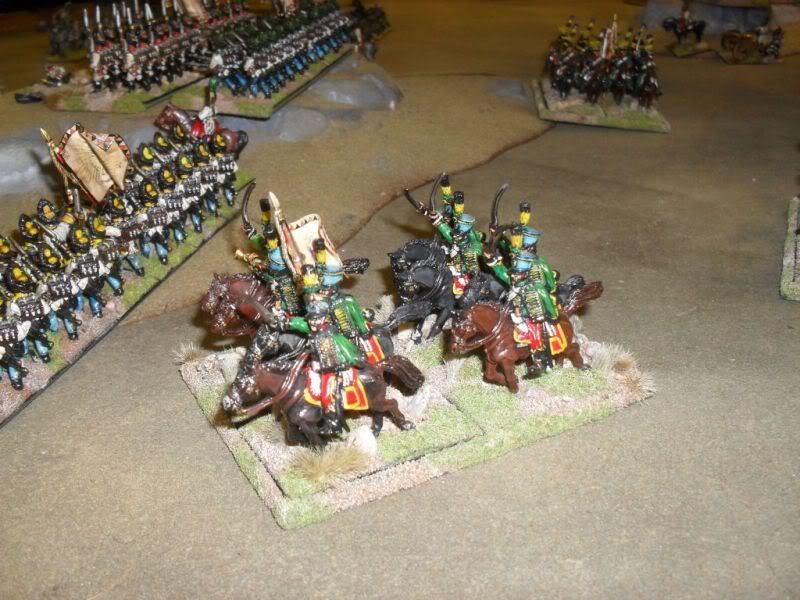
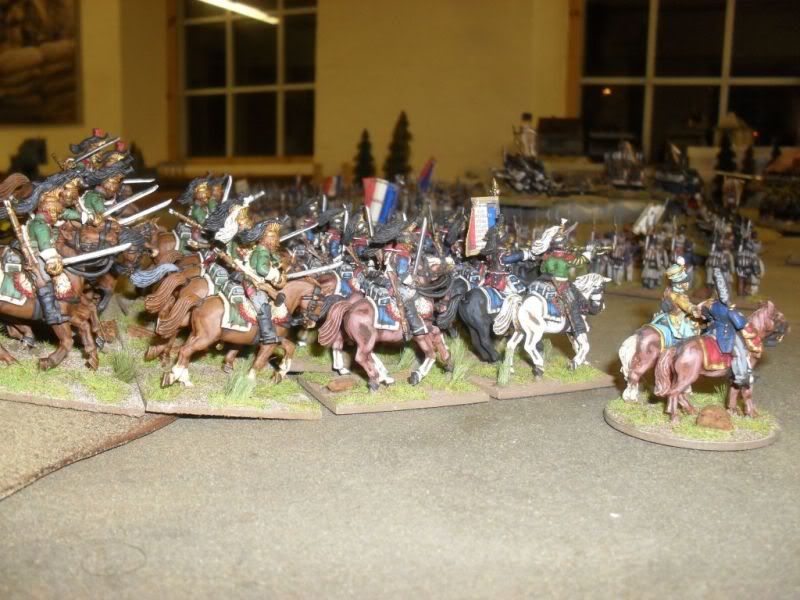 |
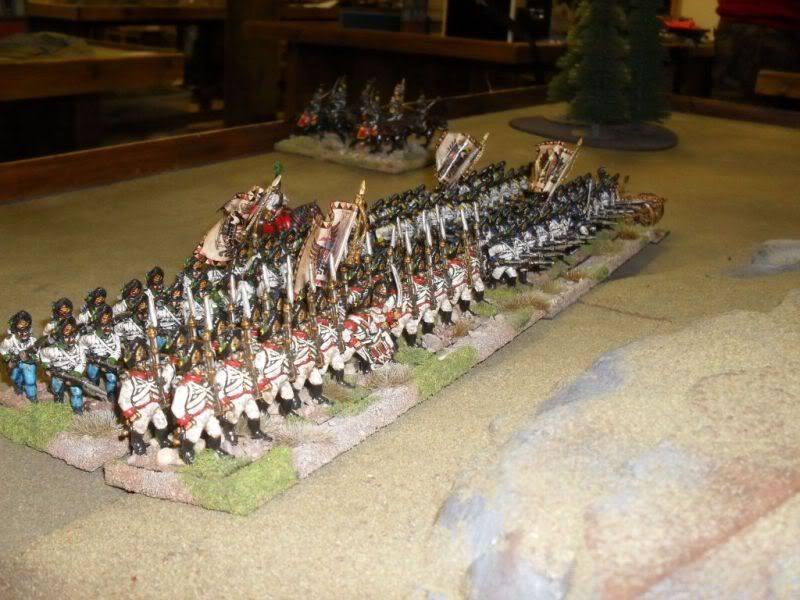
| Victorious French Cavalry |
Some other shots from the battle
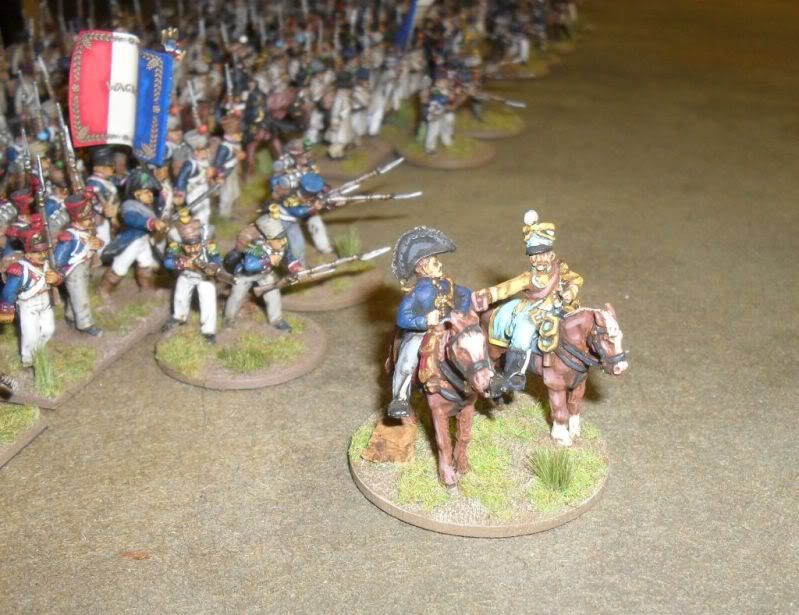 |
| Another shot of the photogenic Dubois |
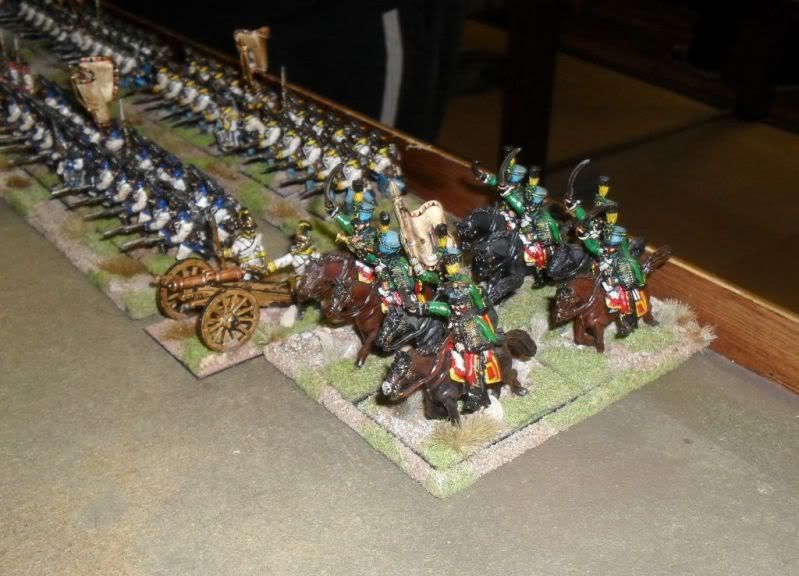 |
| Hussars on the Austrian left |
 |
| Austrians climbing the hill |
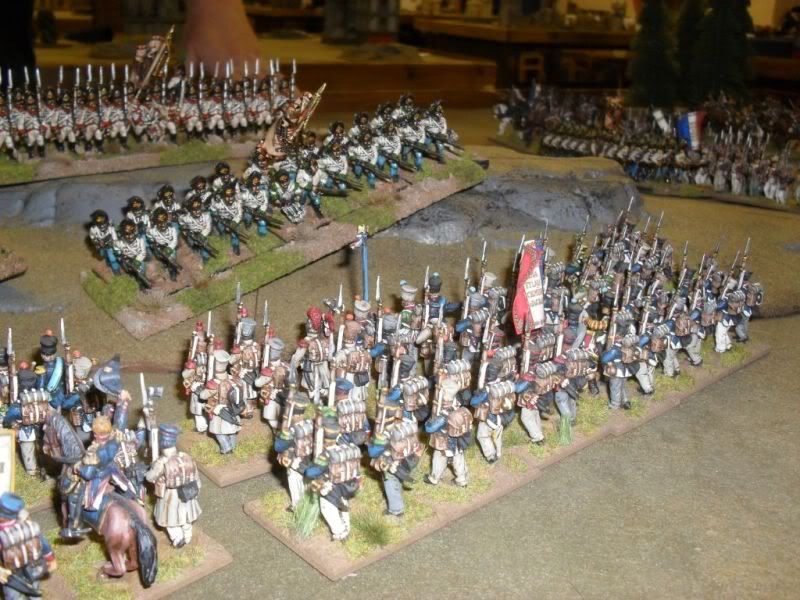
 |
| The French advance |
 |
| French infantry try to push the Grenadiers off the hill |
 |
| 3rd Brigade under pressure |
 |
| Vive La France |